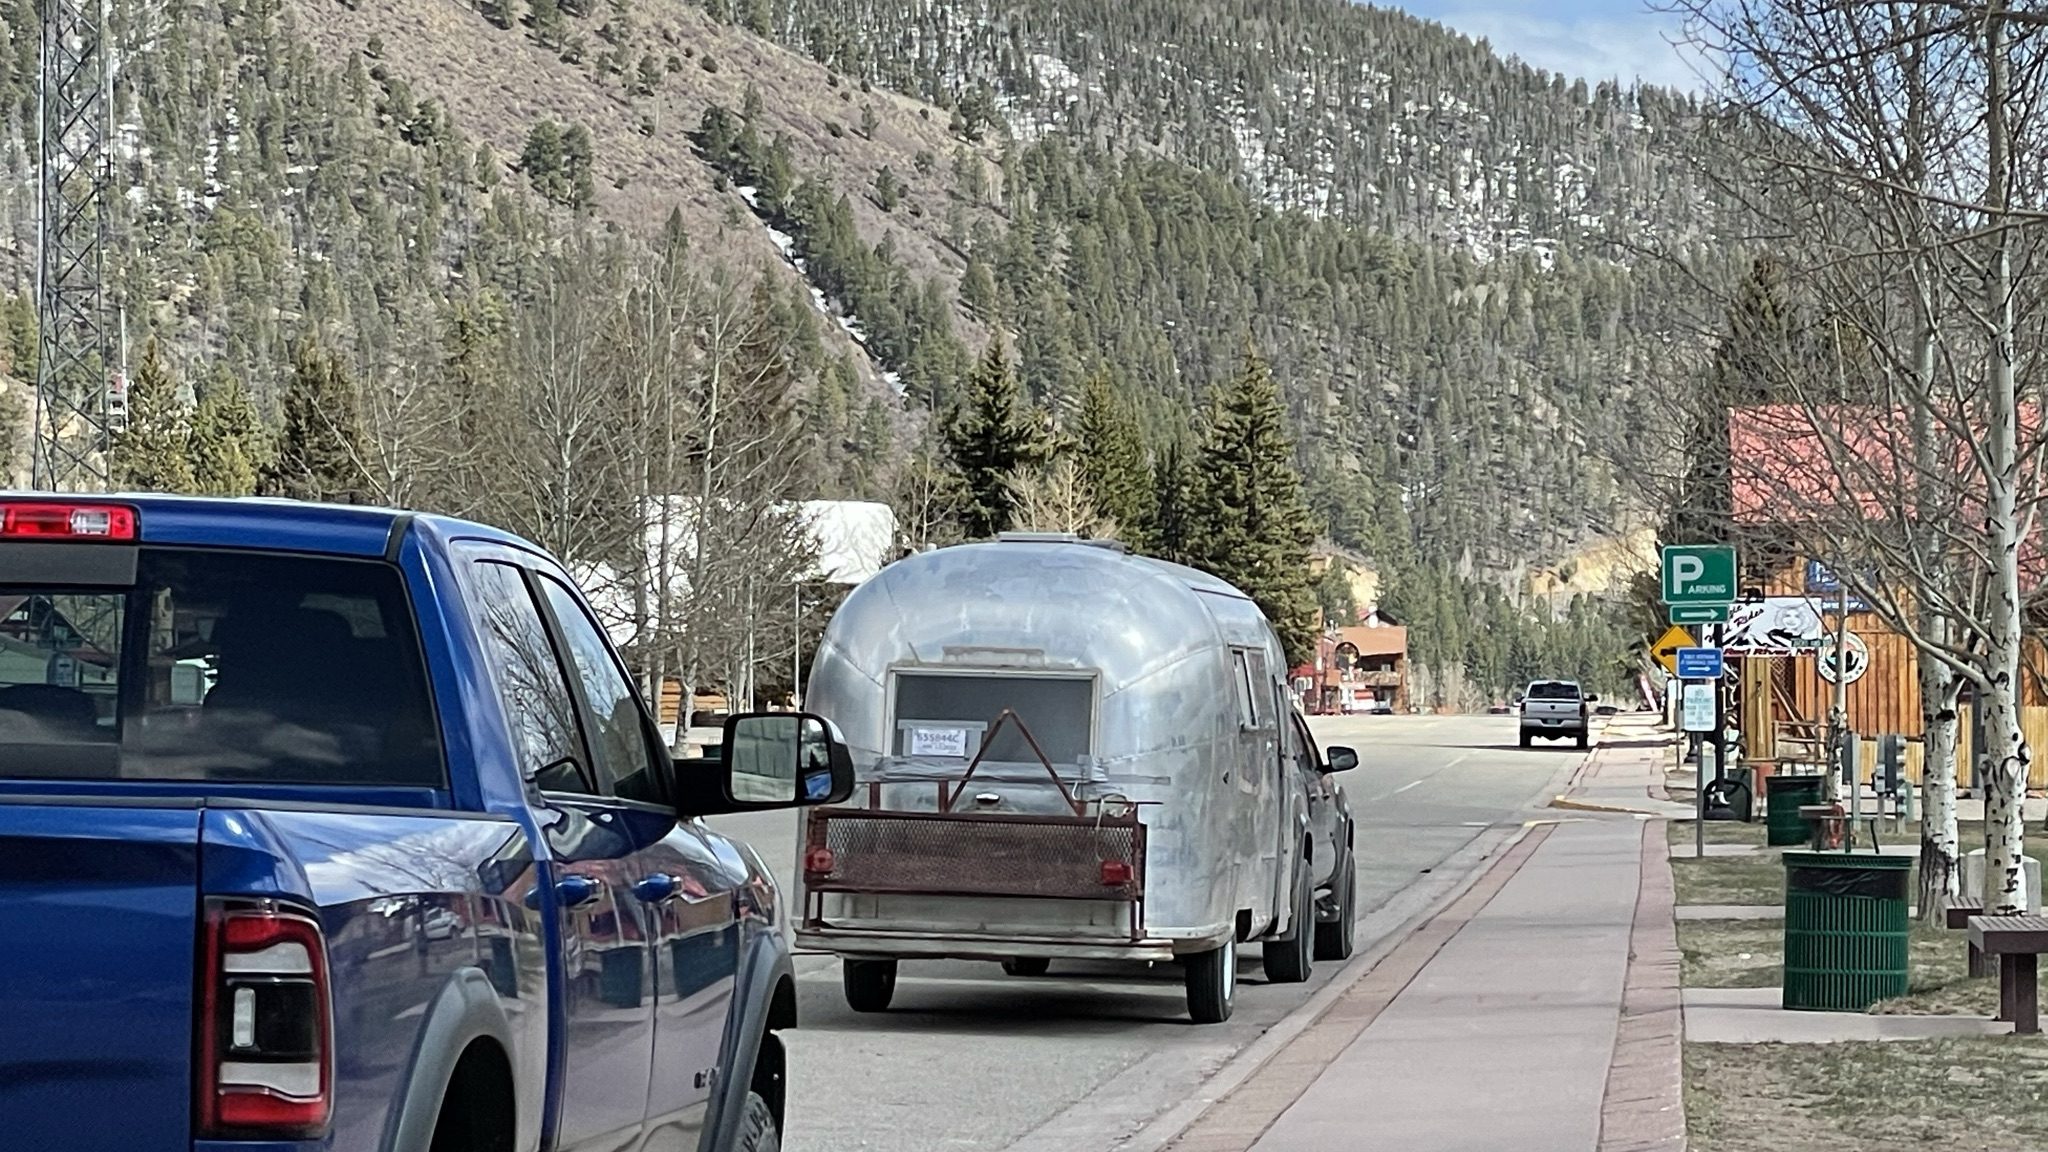
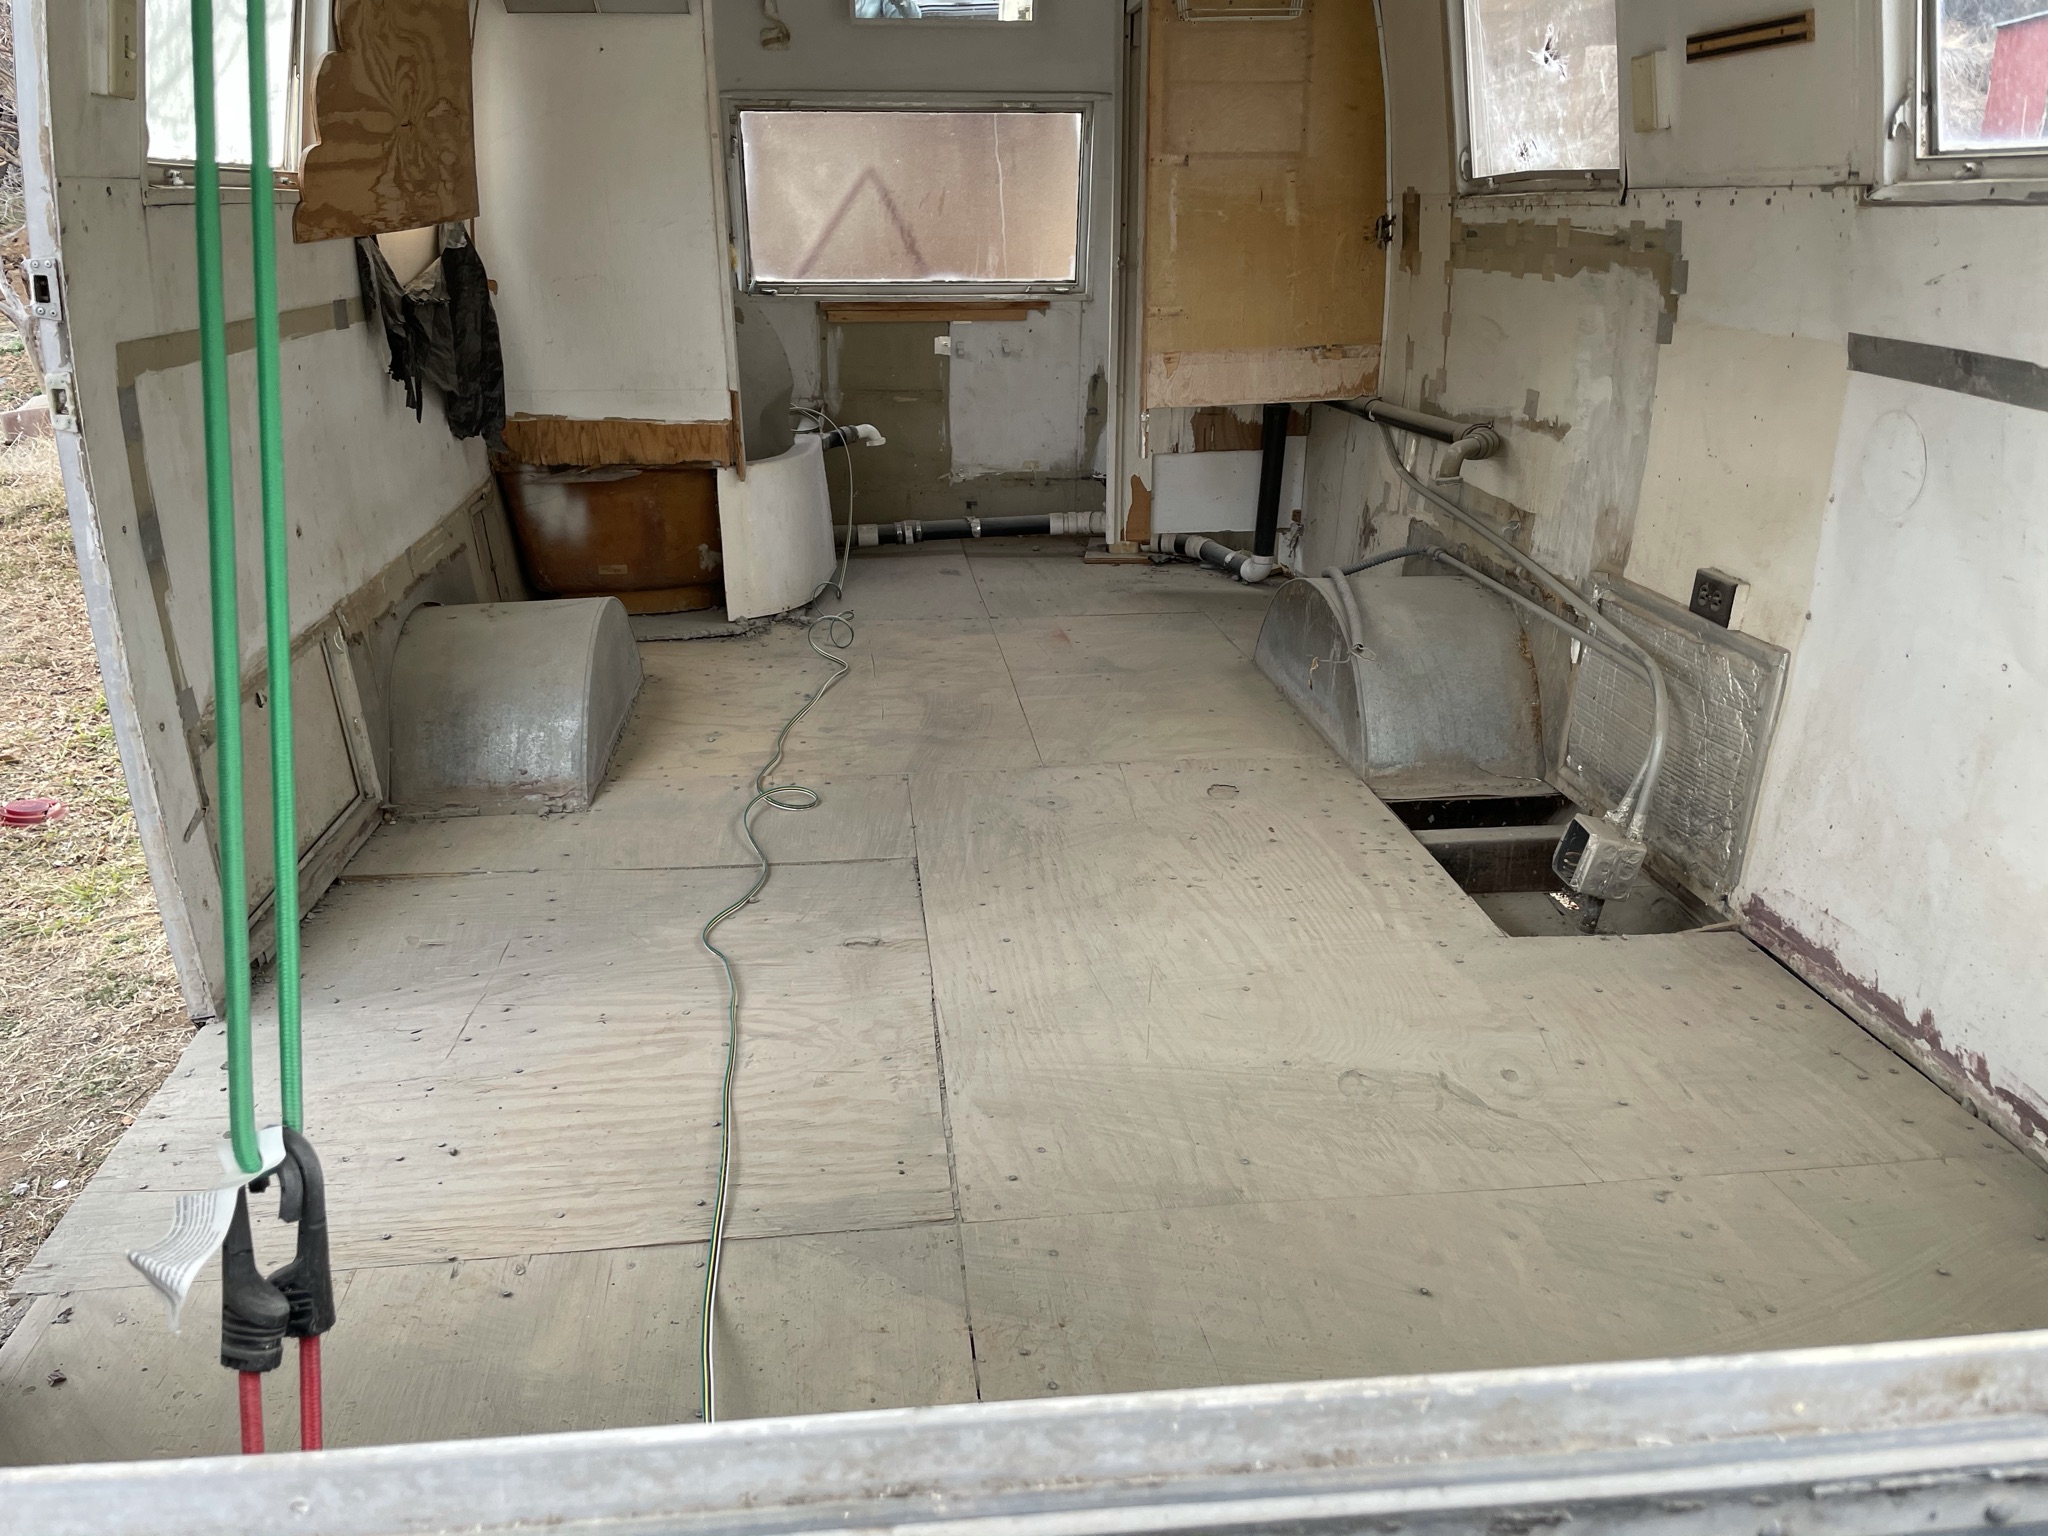
Sunshine and progress! The first picture shown in the gallery below says it all! Gorgeous weather brings good luck! I didn’t show it before but the photo below the trailer also shows the new axle that was installed during the last trip. What follows are a series of shots of Pete and Stef’s work to get the brakes’ electrical connection working. Stef is her father’s daughter; loves tinkering and problem solving. We are not kidding that this trailer is a PROJECT! But it has not deterred either of them; of course, my hope is that a year or so from now, you will see the true fruits of their labor. I know Pete is hoping sooner rather than later.
So, what happened: lots of electrical wiring work as the dynamic duo prepped the trailer to go home. As you will note, Pete did get a temporary Texas tag to use for the trailer (Related stories — definitely if you are registering a trailer in Texas — with some notes on what you will need and can expect coming soon!).
The easy part was installing temporary driving lights to the trailer and testing them successfully with a seven-pin connector. The brakes, as mentioned the last post, proved more challenging as there was no good diagram to wire them up. Enter YouTube and wiring up Dexter brakes. What key equipment were they missing? A brake controller. Because they ran out of time during the March visit and both of them needed to get back to work the following Monday, Pete and Stef returned to New Mexico approximately two weeks later, brake controller in hand (Thanks, Amazon!!!) as well as a new seven-pin connector, 12-gauge and 14-gauge wires and a seven-pin circuit tester. So, while some of you well-versed in towing trailers may know this, Pete did not: a controller is required if you are towing a trailer with brakes even if your own vehicle has a factor tow package. Four-pin connectors (the type used for U-Haul) do not control brakes.


This is a really cool project in every way. You are restoring a treasure that present society would just throw away. The new things you discover will enhance your knowledge and problem solving skills. Most important, the quality time the two of you will share on this endeavor is priceless. I’m actually excited to follow your path to success. Oh, one bit of subtle sarcasm, Pete. Will you be publishing a 16 Week look-ahead schedule? 😁
LikeLiked by 1 person
Thanks for the comment. We are really enjoying this project. With regards to the schedule. . . . let me get back to you. 😉 Pete
LikeLike
A great lesson in experiential learning for both of you. Supplemental braking systems can be a challenge. Fortunately for towing a car I do not need to deal with the 7-pin connector for brakes, just lights and aux power if I need it, which I do not.
LikeLiked by 1 person
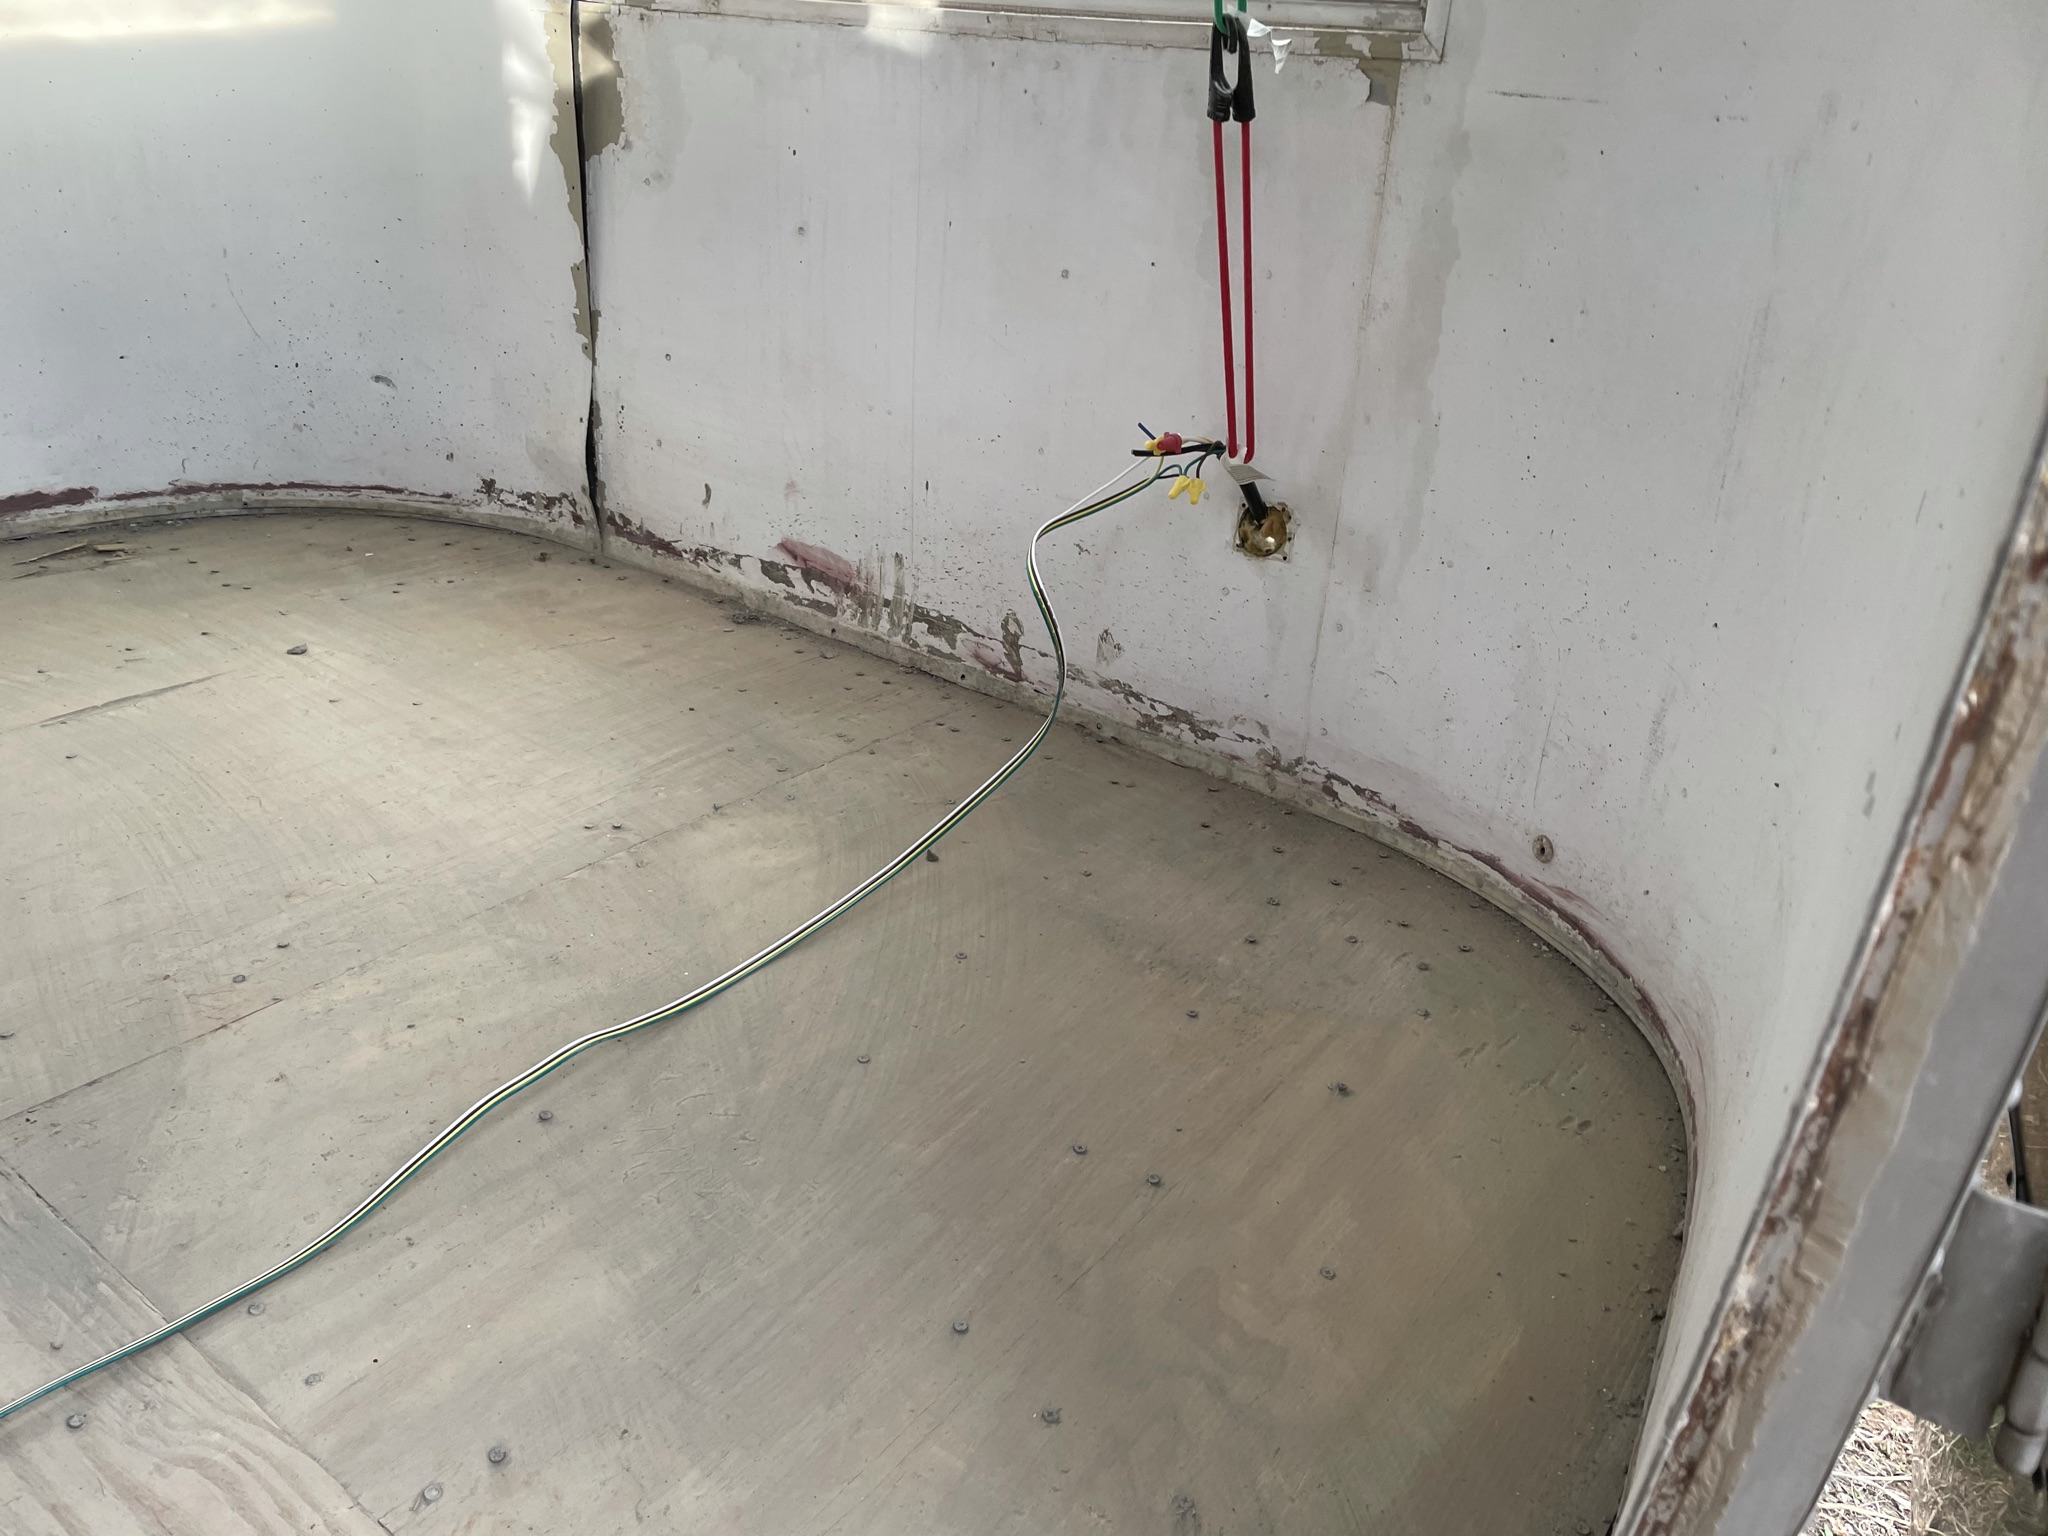
It is indeed. When we tested the brake light response to pushing the pedals we found that brakes didn’t work. The left-hand blinker caused both lights to blink and the right-hand blinker charged the break-away battery. Stef figured out that the 7-pin connector was for a semi (not an RV) so the colors did not match up with our color scheme. Luckily we used a gang box and shrink-wrap connectors which could be easily swapped. We were up and running in about 20 minutes and ready to hit the road!
LikeLike
Pingback: Chapter 5: OK. You got it home, what now? | Pete and Stef's 1963 Airstream rebuild