“Chipping Paint . . . What Could Be Better?!?!” Short answer “Just about anything.”
Now that we got the trailer snug into its garage, the timing is right to start gaining access to the annular space between the inner and outer shells. This will give us access to the insulation, power wiring and controls wiring . . . and, as it turns out, many other strange wonderful things (more to follow on later posts).
This is the part of the story where I could tell you that all those years chipping paint in the Navy finally paid off. However, as anybody who was in the Navy with me probably knows, I never actually chipped paint so I had no innate skillset to lean on. No time like the present . . .

Pete and Stef 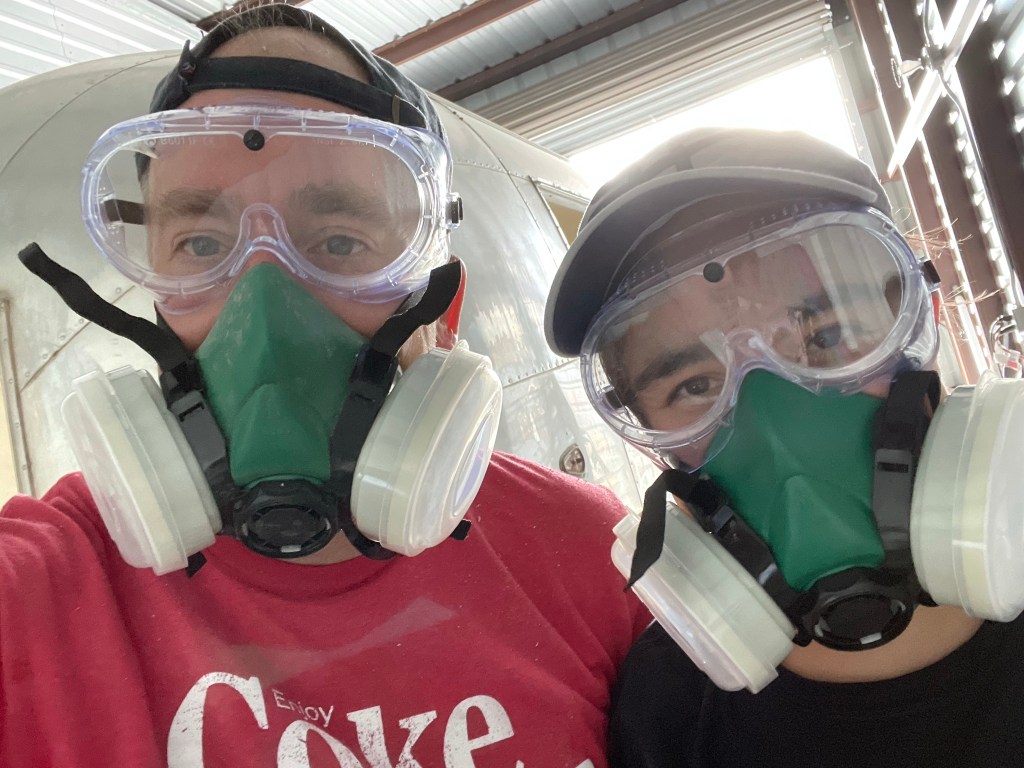
Pete and Stef (again) – this time with paint PPE on
Primarily for economic reasons aimed at reusing the old aluminum panels, we decided to strip as much of the existing paint as possible before removing the panels.
This ended up requiring a little trial and error.
- First attempt: We applied paint solvent then tried to peel the paint . . didn’t work.
- Second Attempt: We tried an orbital sander . . . worked but very slow.
- Third Attempt: We tried a silicon carbide wheel attached to a drill . . . worked by kinda slow.
- Fourth Attempt: We tried a silicon carbide wheel attached to an angle grinder . . . Heck yea! Get some!


This is the interior right before we removed the interior wall panels and end bell pieces.
It took about a week to strip the paint and another few days to remove the panels. This 3D video gives a good look at the interior after we got done stripping the paint, but before we pulled the interior walls. Please excuse the disembodied feet.
