9b: Preserving the Old Frame

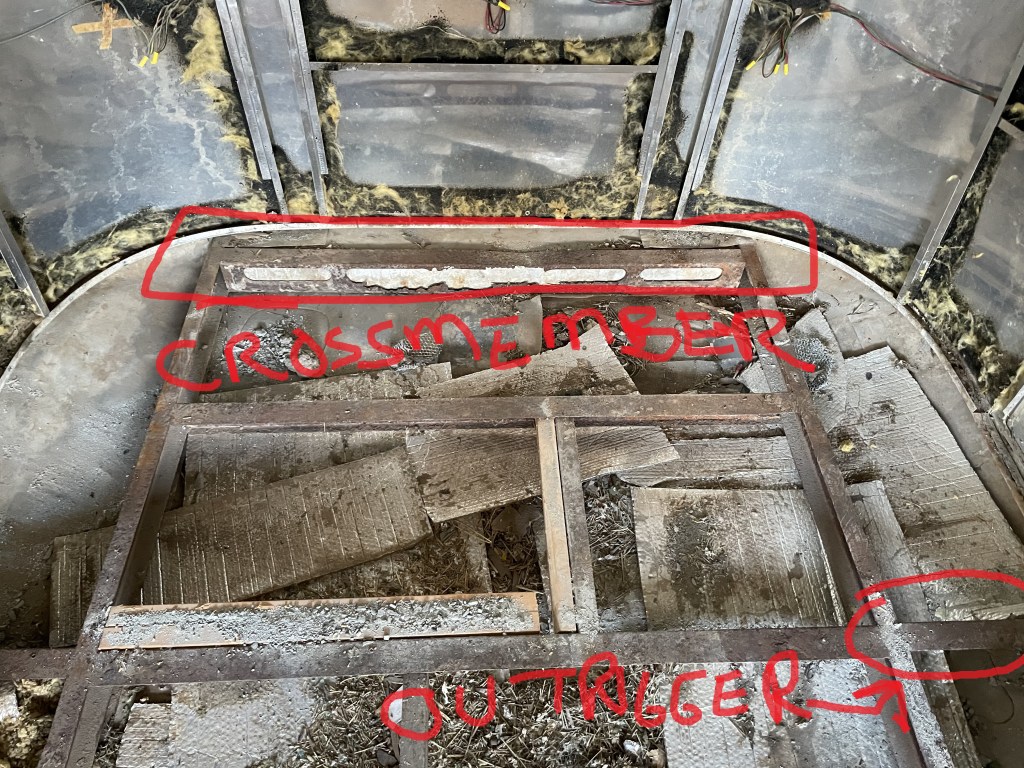
This may come as a shock to you, but finding frame components for a 57 year-old trailer is a little difficult.

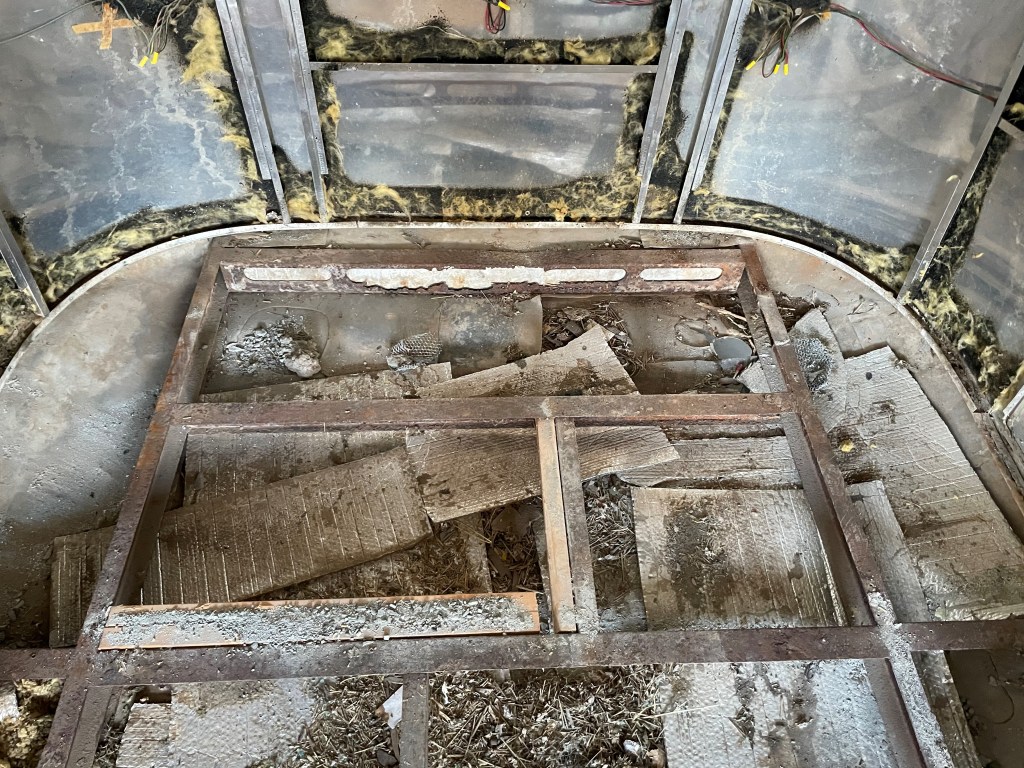
After we got done disassembling and inspecting the frame, we quickly came to the realization that it was in need of repair. There were sections that were severely rusted, and others that had been cut with a cutting wheel.

The first order of business was to remove as much rust as possible, and primer the frame to minimize rust. This was dirty, sticky business in the south Texas heat . . . but to paraphrase Larry the Cable Guy we . . . “got ‘er done”.

Preserving The Frame: After multiple unsuccessful attempts to find a method to grit-blast the frame, we decided to clean it using wire wheels. This worked . . . but boy was it messy and dirty and ucky!

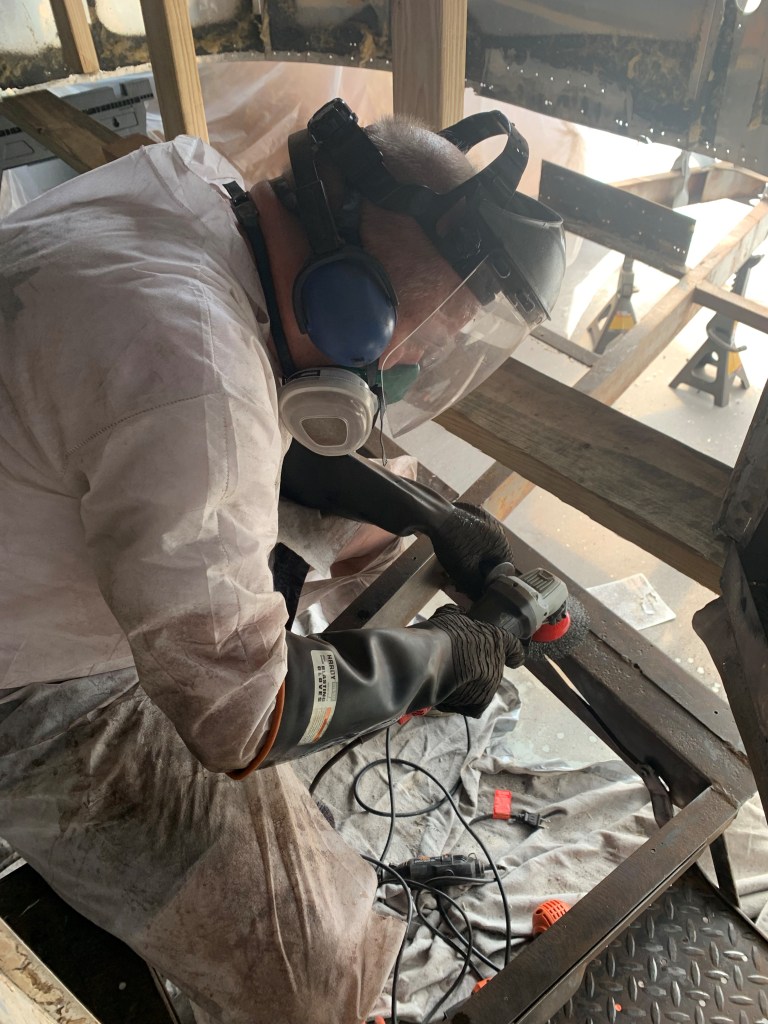
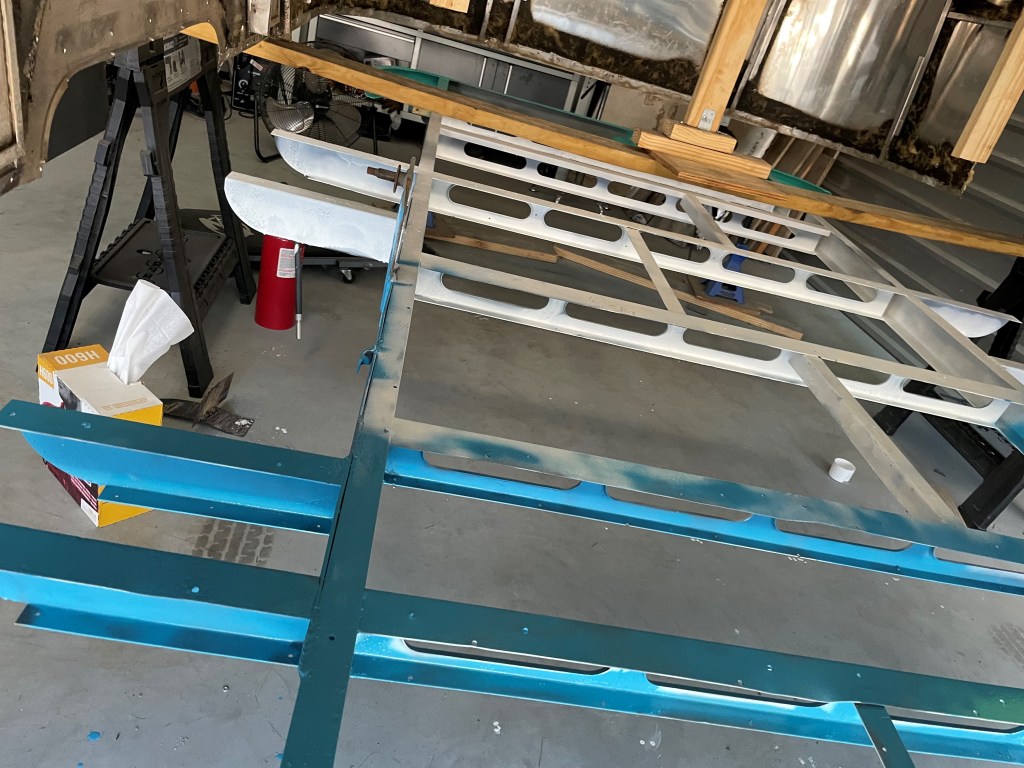
It took about a month, but we got most of the rust off and then put on a coat of primer to keep the frame from rusting in the humid Houston heat.

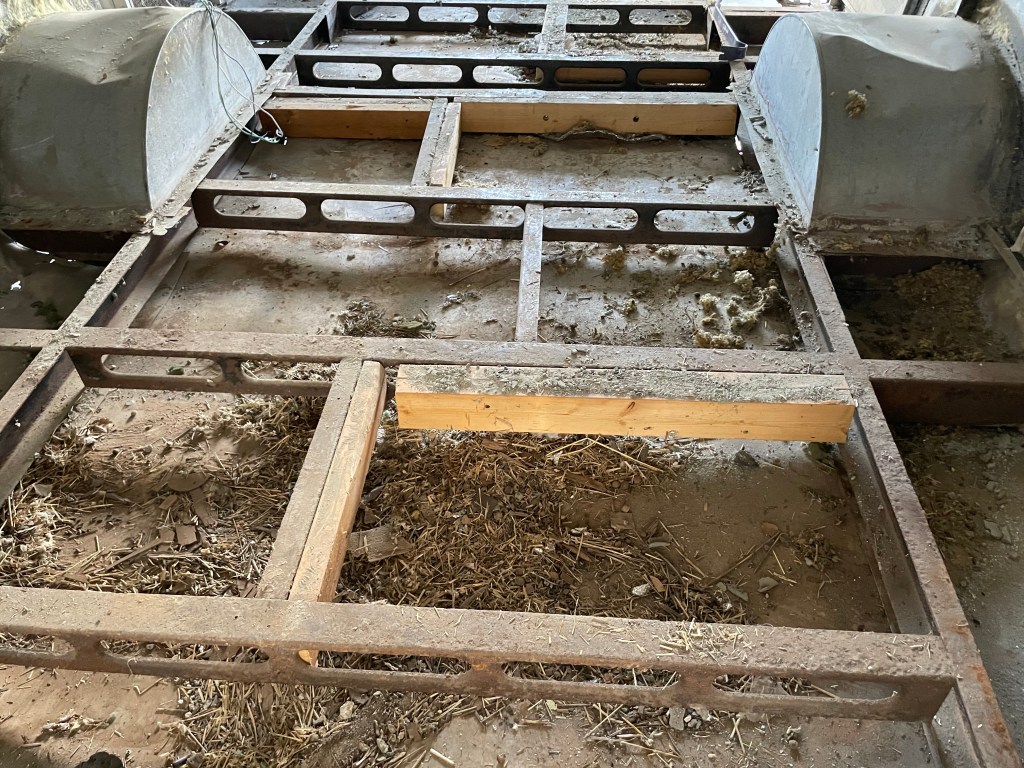
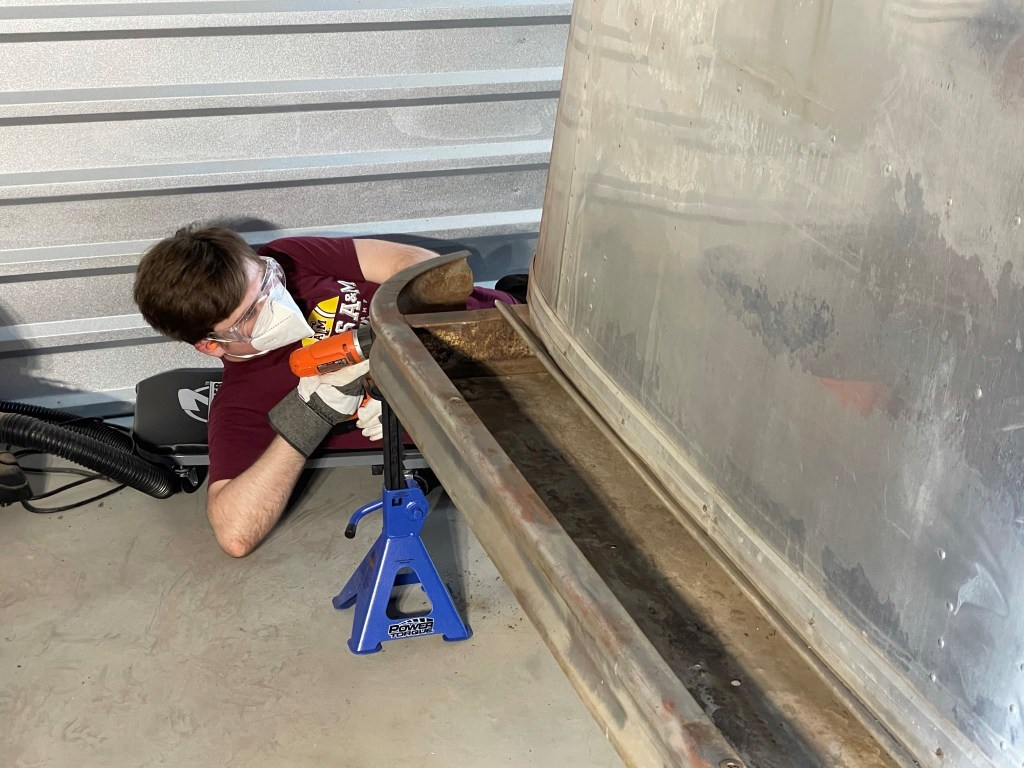
Note: The above two photos were taken AFTER we welded in the new outrigger and cross-members (Stef is sitting between the two new cross-members). The repair of the frame will be the next post.

As the photos show below, the transformation of the frame was remarkable!

Chapter 9a – Getting a Good Look at the Frame

I once heard that you have never truly renovated an Airstream until you have a picture of yourself standing inside of the frame

. . . I guess we have arrived 🙂

Pete and Stef standing inside the frame standing on the old belly pan

I was really hopeful that we would not have to repair the frame . . . this was just wishful thinking.

Once we got the subfloor up and got a good look at the frame, it didn’t take long to realize we needed to repair and clean the frame. The rear-most cross member was nearly corroded through, the rear, left outrigger was crushed, one of the crossmember welds was missing and there were several cuts in some of the longitudinal supports.

The corroded cross-member was directly under the vanity and shower piping so it’s very possible that the drain to the septic system leaked and caused the corrosion over time.

At some point over the last half century, the original subfloor was taken up and replaced. 2×4 wooden boards were screwed into the frame to support the replacement subfloor. We also found several places on the frame where it was apparently cut with a cutting wheel. These spots caused unevenness in the frame and weakened it significantly. They needed to be repaired.

It was at about this time that we realized we were going to need to lift the shell, remove the wheel wells and drop the belly pan.

Lifting the shell was a little bit of a pain. We decided to build a support system using wood and lift the shell with bottle jacks. Once we got the shell lifted, the plan was to slide 2×6 plans supported by saw horses under the shell. This would give us about a foot of clearance to get at the frame.

Long story short, the bottlejacks didn’t work and we ended up just picking it up (yep man-handled). My buddy, Tom, and I picked it up while Stef ran the 2×6 lateral supports under the shell.

This worked OK, but the 2×6 quickly bowed taking the weight off of the truss I fabricated and, instead, put the weight of the shell onto the 2×6.

The Shell Resting on a 2×6 Board